Most messaging personalization advice starts the same way: build a clean event taxonomy, get an attribution model, hire someone who writes SQL. Then you can personalize.
For a small mobile team, that kills the project before it ships. About 90% of personalization impact actually comes from things that don’t need a data project: timing, localization, an event trigger, and the right offer per cohort.
In this blog post, you’ll find 3 key messaging personalization strategies you can put in motion right now (with no extra budget).
3 personalization strategies you can ship right now
Each personalization strategy layer builds on the one before it and maps to a feature inside Pushwoosh (so the work stays with your marketing team, not your engineering backlog 😉).
| Layer | Personalization strategy | Setup needed | Ships in | Where the lift comes from |
|---|---|---|---|---|
| Layer 1 | Identity-based: send-time, language, name | User attributes after SDK integration | 1 day | Each message lands when the user is open to it, in a language they read, with their name on it |
| Layer 2 | Behavior-based: response to an event | Default or custom event | 1 week | Right response to a real action, not a calendar slot |
| Layer 3 | Segment-based: treating different users differently | RFM segments built on existing events | 1 month | Each segment gets a personalized offer, not a generic blast |
Layer 1 — Identity-based personalization (ships in a day)
You already have everything for this type of personalization. This is default profile data of a user, collected by your engagement platform’s SDK from install.
Here are 3 personalization tricks that you can implement right now:
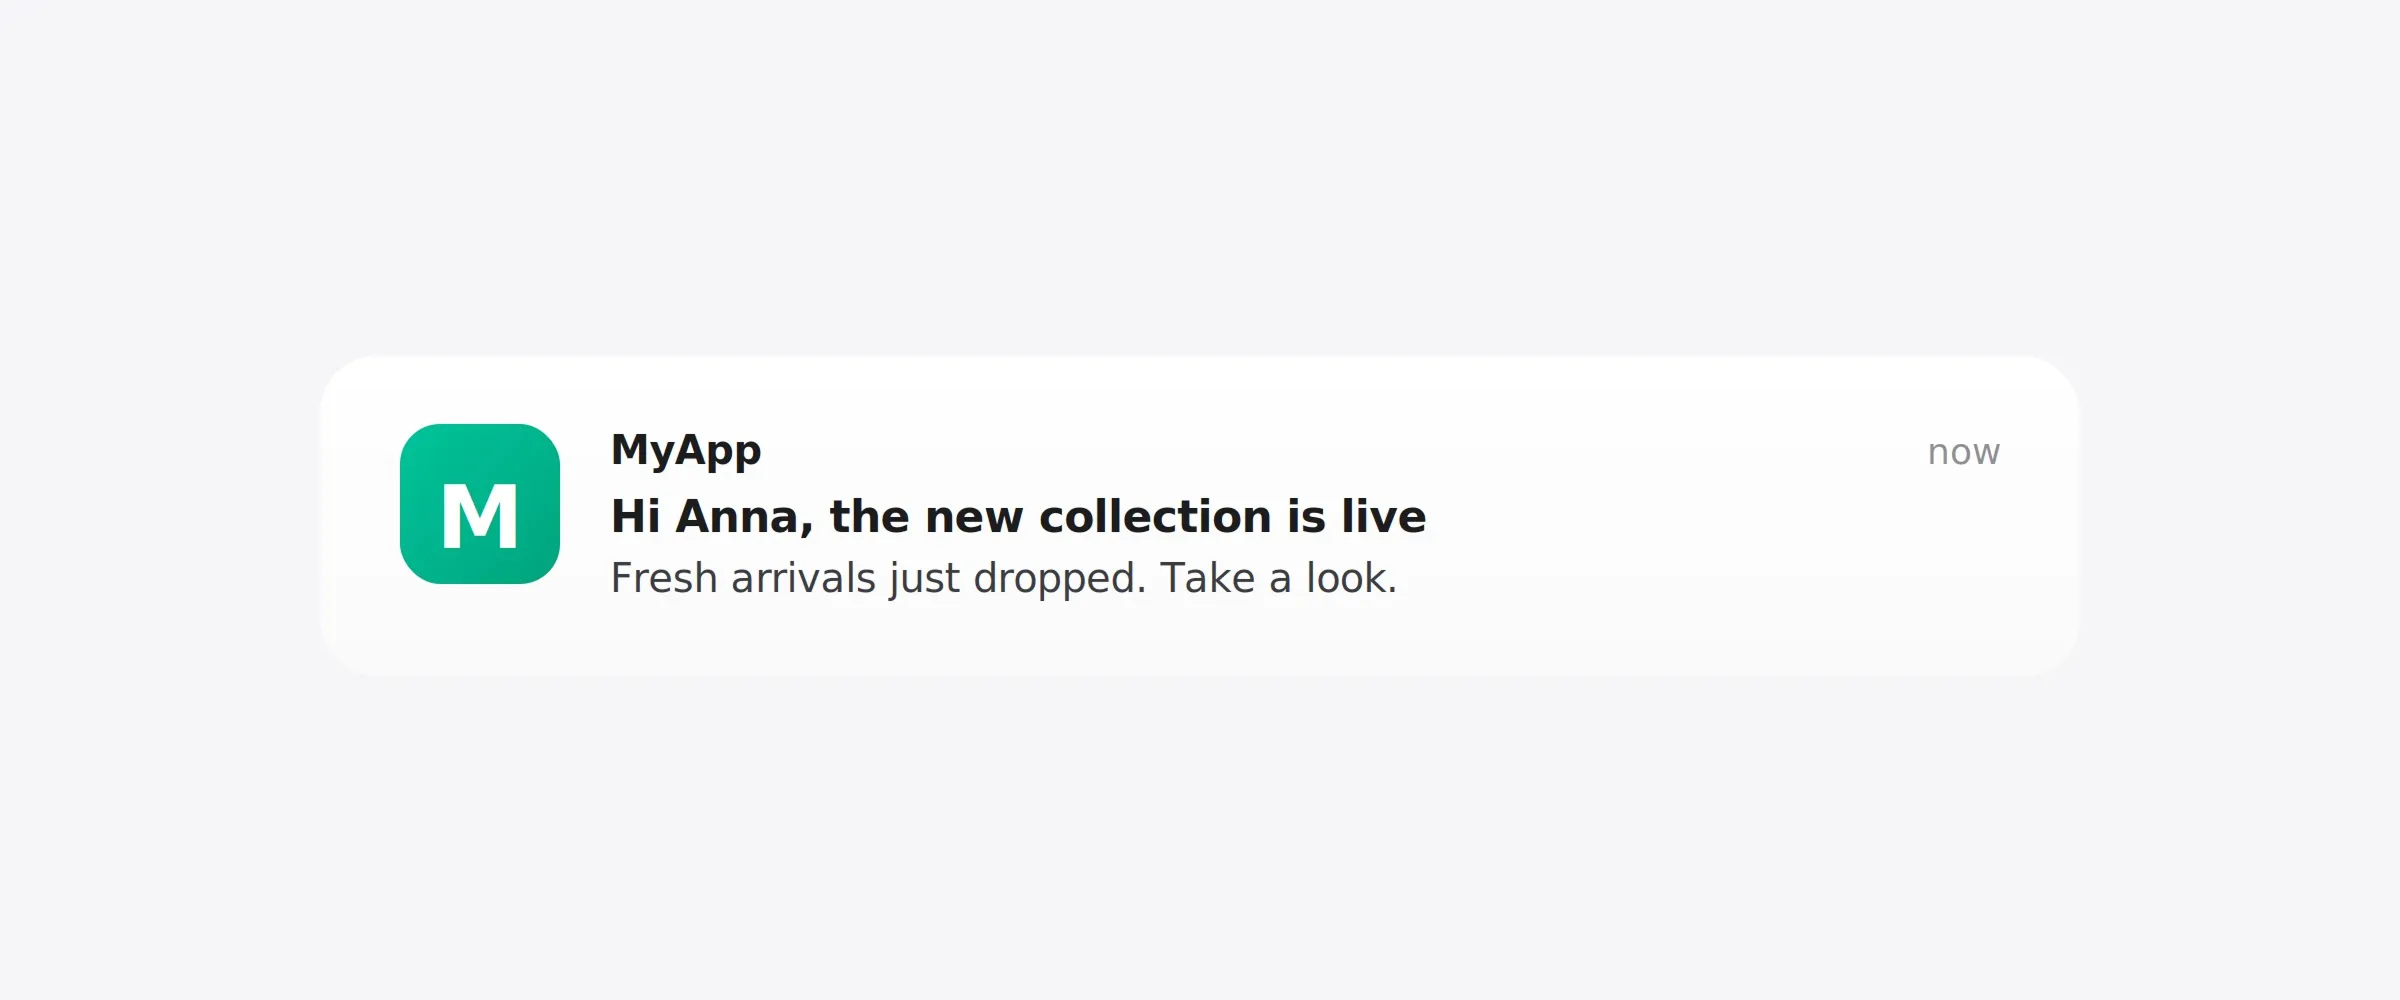
Name and profile tokens
Dynamic content pulls user attributes straight into the message body: name, plan tier, last item viewed, points balance, anything you have as a tag.
Localization
If you have a multilingual user base, sending English-only messaging is leaving conversion on the table. With multi-language messaging, you can write a push notification or other message and automatically display it in each user’s preferred language. The same campaign goes out in 8 languages without 8 separate campaigns.
Send-time optimization
Instead of sending a push notification at “Tuesday 10 AM” because that’s the peak engagement time according to most guides, send it when each individual user is most likely to open their phone.
Pushwoosh’s Best time to send picks the optimal moment for each user based on their personal engagement history, with no scheduling work on your side.

Combined, these 3 hacks give you personalization by identity — who the user is. Next, we’ll move to Layer 2 that adds personalization by moment — what they’re doing right now.
Layer 2 — Behavior-based personalization (ships in a week)
This is where messaging starts being a response to behavior. You go from “everyone gets the message” to “the message fires when the event happens.”
All you need is at least one event that you actually care about. For most teams, that’s browse abandonment: the user viewed a product, an article, a course, a listing, and didn’t act. They’re the warmest audience you have, and most apps never message them.
Which exact event you track first depends on your industry or app type:
| Industry | Event to track | "Abandoned" condition |
|---|---|---|
| E-commerce / retail | product_viewed | Viewed product, no purchase within 1h |
| Fintech | paywall_viewed or plan_viewed | Viewed plan, no subscription_created within 1h |
| Media / streaming | paywall_viewed | Hit paywall, no subscribed within 1h |
| Gaming | iap_screen_viewed | Opened IAP screen, no iap_purchased within 24h |
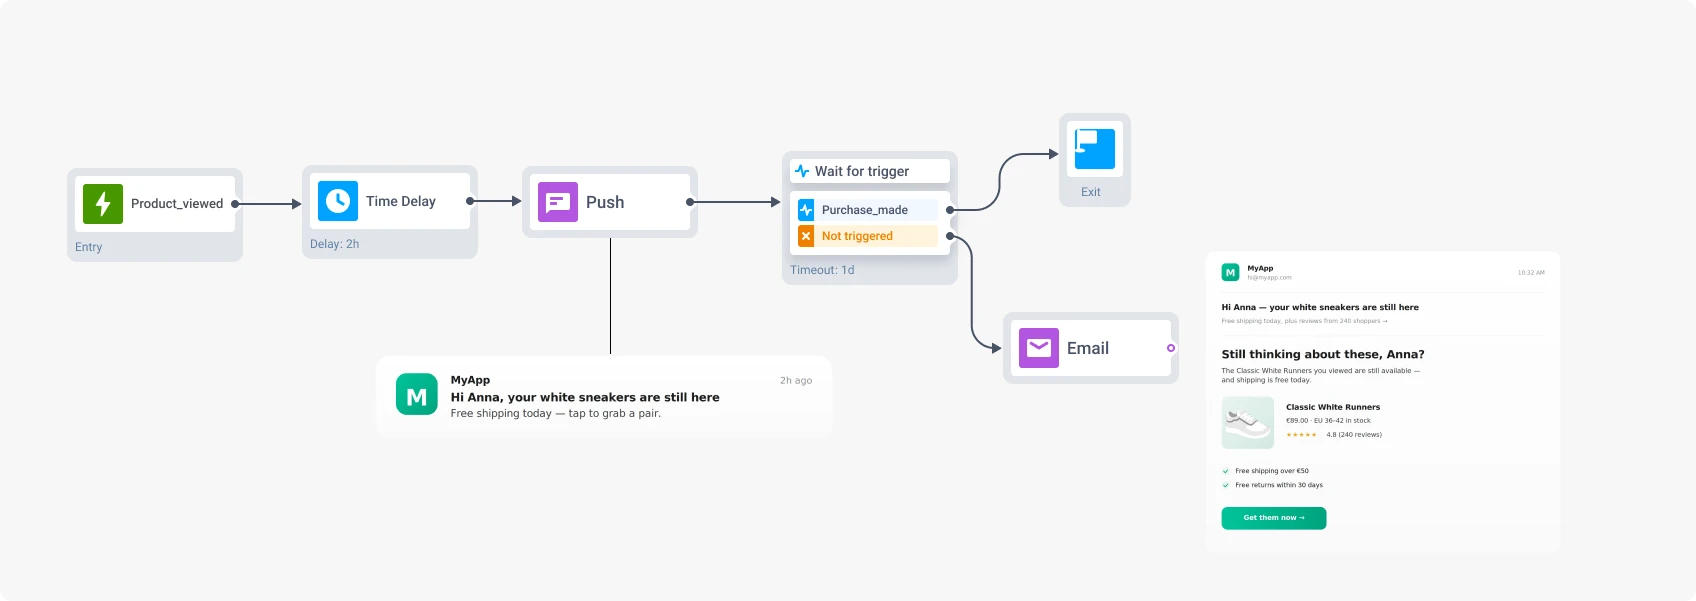
product_viewedpaywall_viewed or plan_viewedsubscription_created within 1hpaywall_viewedsubscribed within 1hiap_screen_viewediap_purchased within 24hHere’s the flow how to set up a customer journey:
-
Set the trigger
Pick the event you want to track from the list of default events or ask developers to create a custom event. The trigger fires when a user performs the action.
-
Wait 1–2 hours
Short enough that intent stays warm.
-
Send a message
Name, language, and a reference to the specific thing they viewed (info from Layer 1 personalization tricks).
-
Goal check 24 hours later
If they converted, exit the journey. If not, escalate.
-
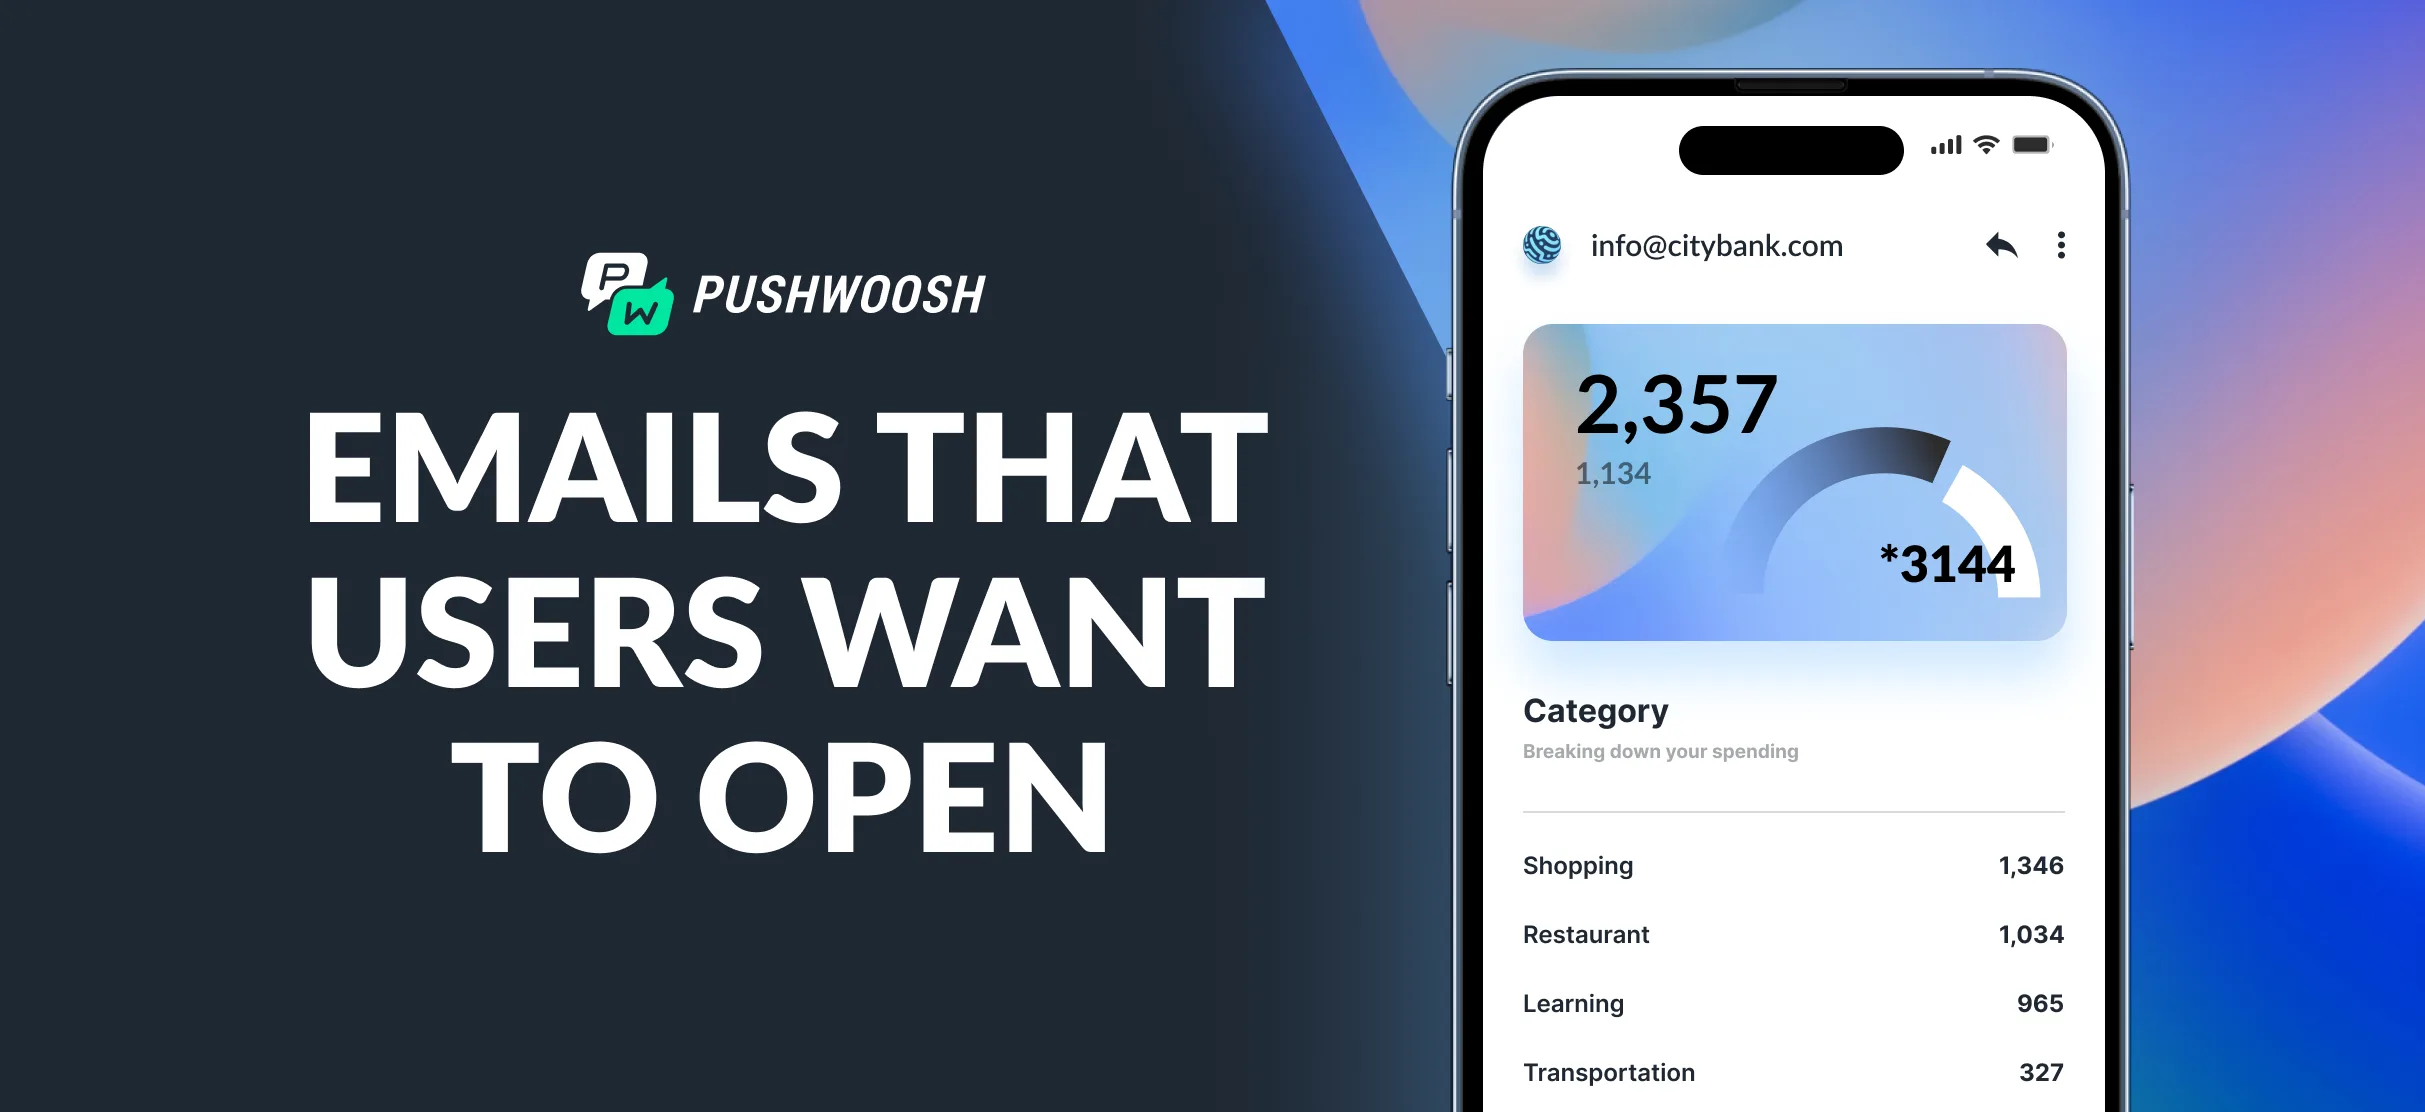
Email fallback
A detail-heavy follow-up: feature breakdown, plan comparison, social proof. Push notification is for the nudge. Email is for the context that didn't fit in 150 characters.
Now you know how to personalize by moment. Let’s move to Layer 3, which personalizes by context — where the user is in their relationship with your app.
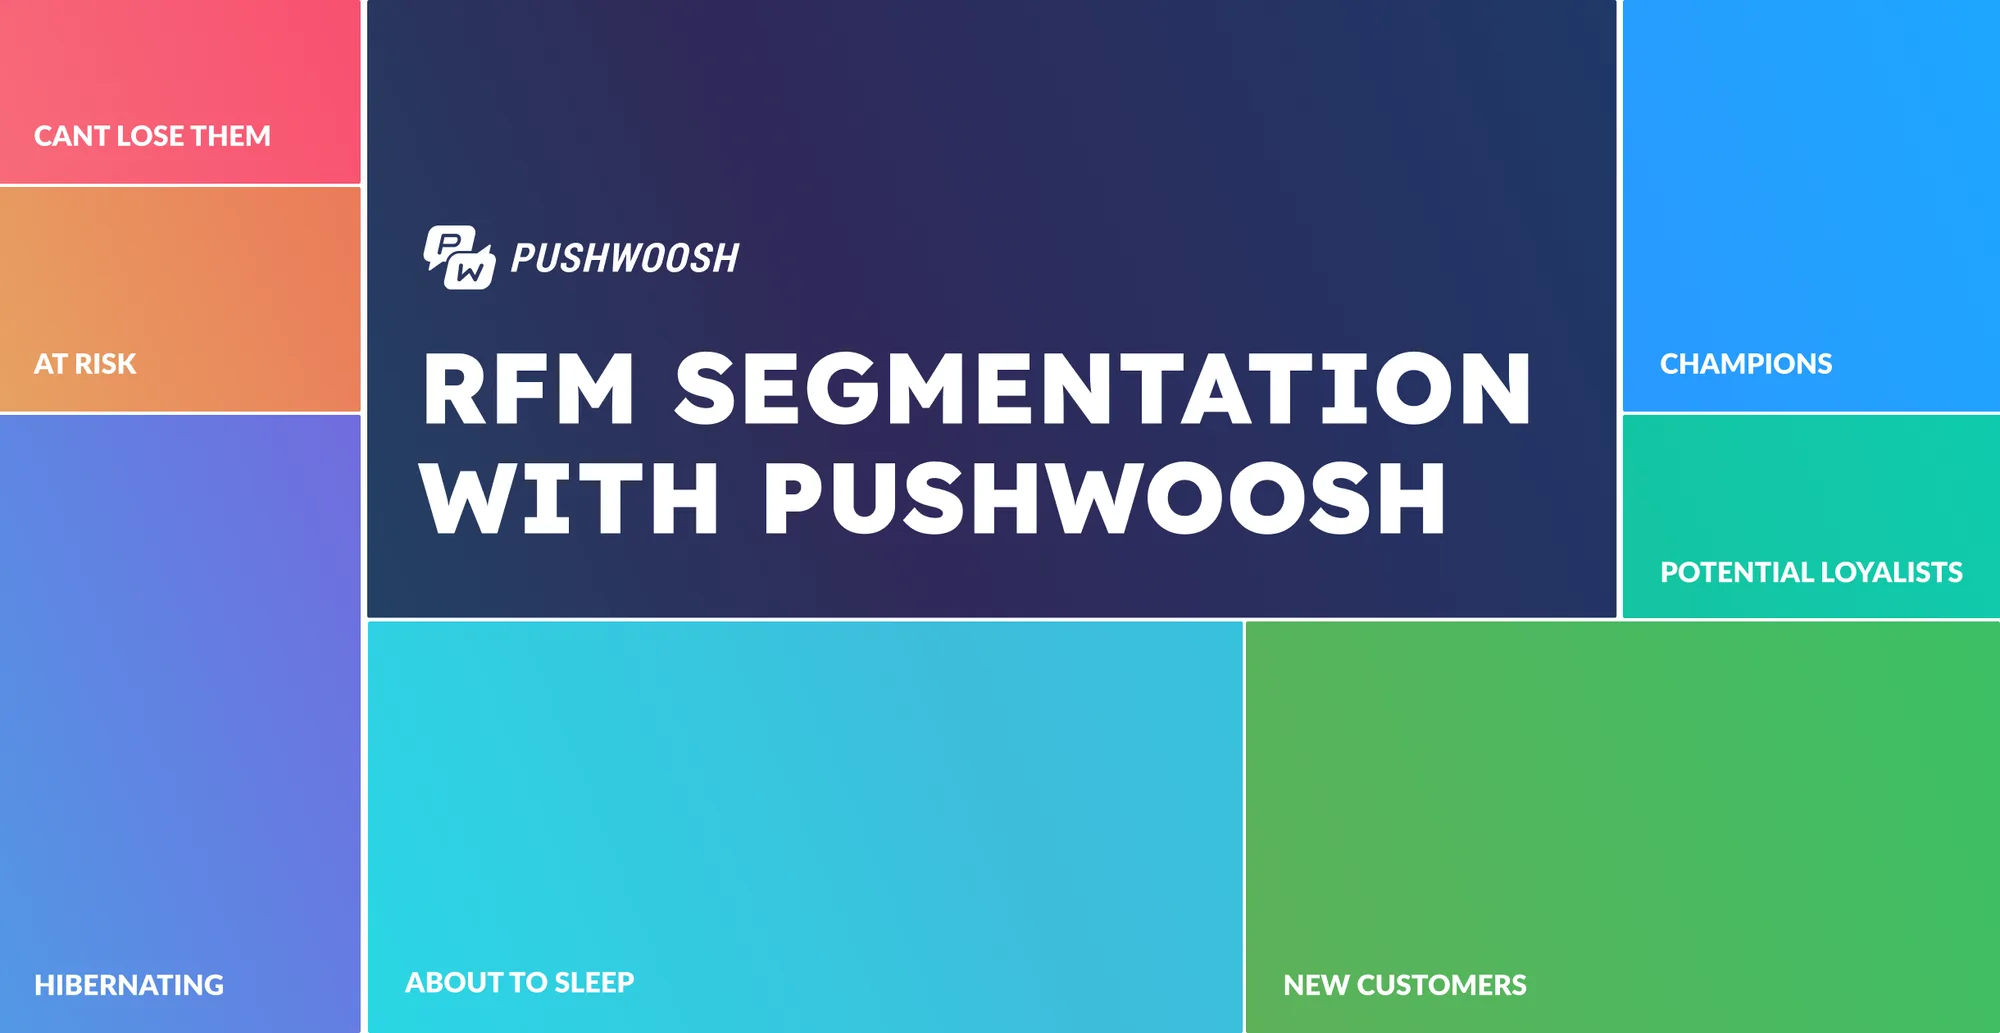
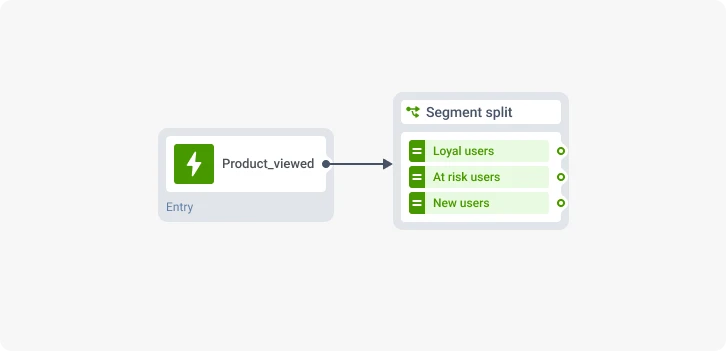
Layer 3 — Segment-based personalization (ships in a month)
Layer 3 takes the Layer 2 journey and makes it who-aware. Same trigger, same event, same fallback logic, but the journey treats different audiences differently.
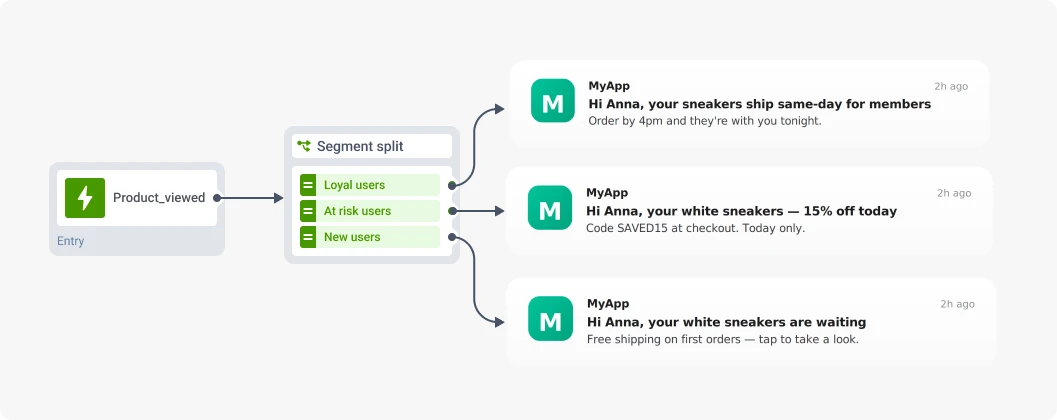
Take your browse-abandonment flow and split it into 3 branches based on each user’s behavioral history.
After you picked the segments your want to target, send personalized offers:
- Loyal users get early access or loyalty perks.
- At-risk users get a stronger incentive: a discount, a bonus, a reason to come back.
- Newcomers get a soft conversion nudge, no discount.
📖 Check out Customer segmentation case studies: How top apps boosted CTR and conversions.
What to stop doing
Now, you know how to personalize messaging. Let’s take a look at anti-patterns that will quietly cancel out your personalization strategy’s gains. They’re worth naming:
- Stop batch-and-blasting by day of the week.
“Wednesday at 10 AM gets the best opens” is not a strategy. It’s the calendar making decisions for you. Send-time optimization (Layer 1) replaces this with one toggle. - Stop sending generic “We miss you” messages.
This is anti-personalization wearing a re-engagement costume. Zero effort in, zero impact out. The bare-minimum upgrade is two tokens: a name and a reference to the user’s last meaningful action. - Stop treating silence windows and frequency caps as optional.
These aren’t personalization, but every layer above breaks without them. Send a well-crafted personalized message at 3 AM local time and the user opts out before they ever see it. Silence windows protect the channel; frequency caps protect the opt-in rate. - Stop using open rate as a proxy for revenue.
Open tells you the message was seen. It does not tell you the message earned anything. A push with 40% opens and 0.5% goal completion is worse than a push with 15% opens and 3% goal completion. Optimize for goal completion. Open rate is a diagnostic, not a destination.
Build smart personalization with Pushwoosh — without extra budget
Every move in this playbook runs inside Pushwoosh today. Connect your project, set up SDK, and the features behind each layer — Dynamic content, Best time to send, Customer Journey Builder, RFM Segmentation, are ready to run in your account.
The free plan opens all of it, so you can ship your first personalized campaign on your own data. And if you’d rather hand the build to AI, our marketing copilot ManyMoney, is on the free plan too.