A ticket lands in your queue: “Add an Apple Wallet button to the confirmation email.” Simple enough on the surface, until you look it up and hit Apple’s badge rules, a signed .pkpass, and the question of where the button even links to. The button itself is the easy part; wiring it to a real pass and getting the placement right is where people stall.
This is the short version for whoever has to ship that button: where it belongs across email, web, and app, the rules Apple and Google enforce, and how to wire it to a live install link that actually saves a pass. Done right, the button lifts your install rate instead of sitting unused in a template.
Where the button actually belongs (email, web, in-app)
The button works in three places, and each has a natural home tied to the moment the pass has value.
In email, it goes in the confirmation or offer message: an order receipt, a ticket confirmation, a loyalty sign-up. One catch: a customer might open the email on a laptop, where the button won’t work, so add a line like “open this email on your iPhone to add the pass.”
On the web, it belongs on confirmation and offer pages, near the thing being saved: right after checkout, on a booking confirmation, on a dedicated coupon page.
In-app, it goes wherever the pass information already appears, right after the action that creates it: a purchase, an enrollment, a ticket issue. Native apps use Apple’s own button control rather than an image.
Apple’s official button guidelines
Apple treats the badge as trademarked artwork, so the rules are strict and worth following to avoid a rejected app review or a broken-looking button.
Use Apple’s downloadable SVG for web and email, and the EPS version for printed materials with a QR code. Don’t create your own version, and don’t recolor, rotate, animate, or add shadows to the badge. In native apps, use the PKAddPassButton control, which renders the correct look and language automatically.
On layout, keep a minimum clear space around the badge of one-tenth its height, and place it on a white or light background. For dark backgrounds, Apple provides an outline version. The badge should stay secondary to your main content, not dominate the layout.
For naming, write “Apple Wallet” on first mention and “Wallet” after that, and include Apple’s trademark credit line wherever you show legal text. These naming rules are part of what Apple checks.
A few mistakes get buttons rejected or make them fail silently. A custom-designed badge in place of the official one fails review, and a badge hidden where its purpose is unclear gets ignored.
A link to an unsigned or malformed pass adds nothing when tapped, and inconsistent naming like “save to iPhone wallet” trips the brand rules. All of them are avoidable with the provided artwork and a correctly signed pass.
Add to Google Wallet button: same job, different rules
If you support both wallets, and most consumer businesses should, you’ll place a Google button alongside the Apple one. The job is identical; the specifics differ.
Google’s button comes in Android XML, SVG, and PNG, in black only, with primary and condensed variants. The clear space is a fixed 8dp on all sides, and the button needs a minimum height of 48dp. One rule is easy to miss: if other buttons share the page, the Add to Google Wallet button must be equal to or larger than them, never smaller.
The button has to call a Google Wallet API flow, which opens the Google Wallet app so the user can save the pass to their Android device and Google account. For naming, write “Google Wallet” with a capital G and W, and use Google’s localized button text rather than your own.
So it’s two buttons and two rule sets in one place in your template. Build the pass for both standards, drop both badges side by side, and the customer’s device handles the rest.
Wiring the button to a live install link
A badge is just an image until it points at a real, signed pass. Three things connect it to something a customer can actually save.
-
Generate the install link per user
The button links to an install URL that resolves to a signed pass. You can produce that pass two ways: build it yourself with Apple's PassKit framework, which means generating and signing the .pkpass and running a service to host the link, or use a pass platform that does the signing and hosting for you. The first gives full control and suits teams with backend resources; the second is faster for most marketing and product teams. For a shared pass, like a generic coupon, one link serves everyone. For a personalized pass, like a loyalty card with a specific customer's points, you generate a unique link per user so the saved pass carries their data. With a platform like Pushwoosh Wallet passes, you build the pass once and generate that install link without handling .pkpass signing yourself.
-
Drop the button into your ESP template
In your email platform, place the Apple SVG badge (and the Google button, if you support both) and set its link to the install URL. For a per-user pass, most email platforms let you insert the unique link as a personalization variable, so each recipient's button points at their own pass. Add the "open on your iPhone" note, and keep the badge on a light background per Apple's rules.
-
Track saves, not just clicks
A click on the badge isn't a save; the customer still has to confirm adding the pass. Track the actual add as its own event so you're measuring install rate, not just click-through. That number tells you whether the placement and offer are working, and it's the metric to optimize, since a saved pass is the one that stays on the phone.
One link, every channel
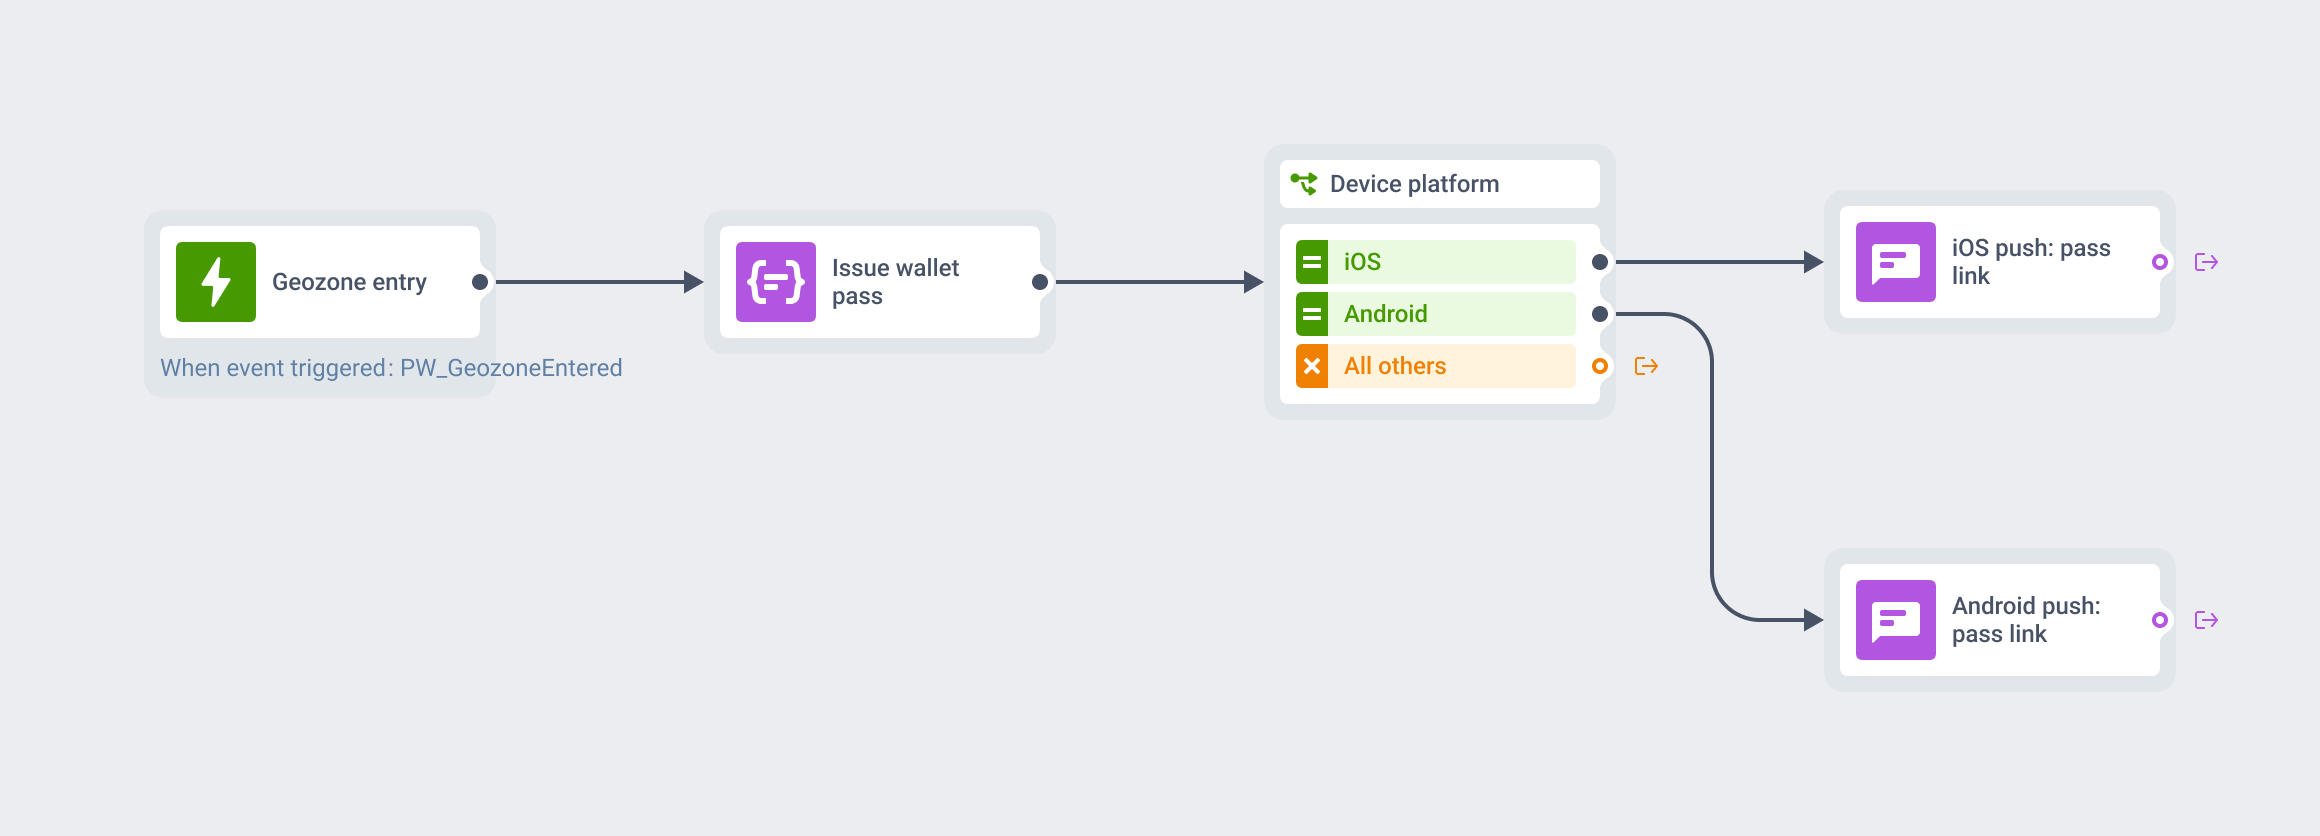
Generating a unique install link per user and pasting it into every channel by hand doesn’t scale past a few campaigns. The link is the same asset whether it rides in an email, a push, or an SMS, so the efficient path is to generate it once and reuse it everywhere.
With Pushwoosh Wallet passes, you build the pass, generate the install link, and distribute it across push, email, and SMS from one place. The Apple and Google buttons point at the same pass, and you manage saves and updates without touching a .pkpass file.
Lift your wallet pass install rate with Pushwoosh
Ship the button once and reuse the link everywhere. Pushwoosh Wallet passes generates the install link for Apple and Google Wallet and distributes it across push, email, and SMS from one dashboard.