Creating an Apple Wallet pass by hand means writing a pass.json file, requesting a Pass Type ID and certificate from Apple, adding the WWDR certificate, signing the bundle into a .pkpass, and standing up a web service just to push updates later. For most marketing and product teams, that is a wall, not a workflow.
There’s a faster path. A no-code pass builder handles the signing and updates for you, so you design the card in a dashboard and share an install link. This guide covers what you need before you start, the two ways to build a pass, what “free” really means here, and the step-by-step to publish your first one. We will use the Pushwoosh pass builder as the worked example.
What kind of pass are you building?
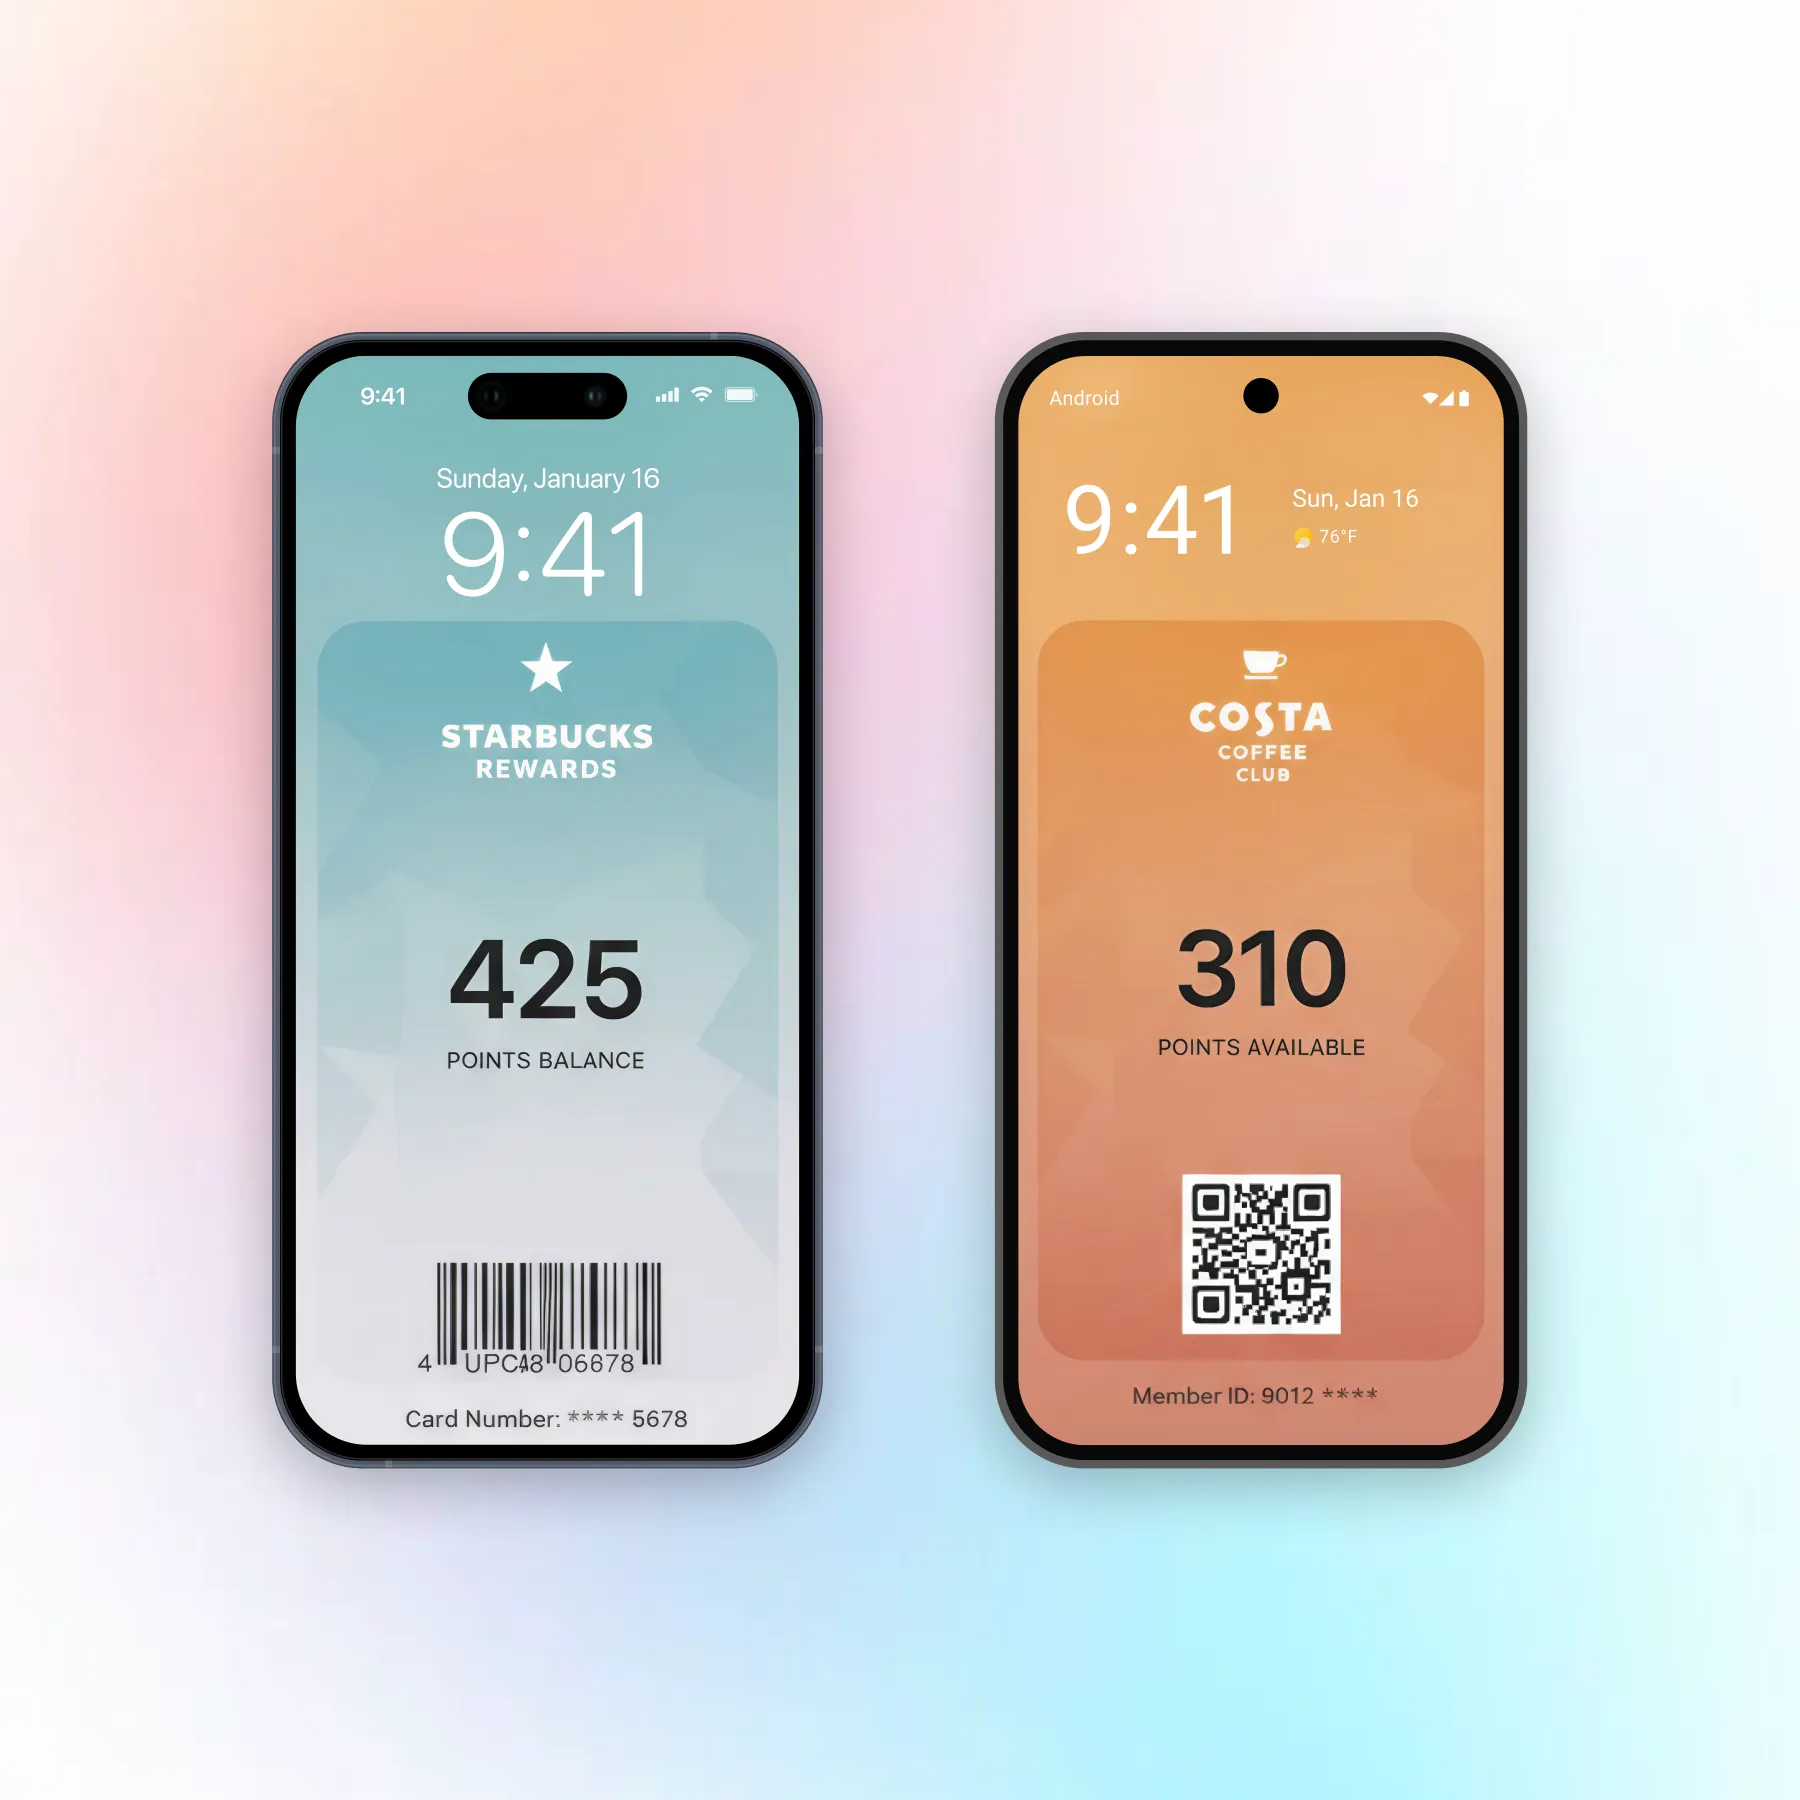
Before the how-to, pin down the pass type, because it shapes the fields and the barcode. Apple Wallet supports five styles, and four of them cover almost every business case:
Loyalty or store card: a points balance or digital punch card. A coffee shop tracking visits toward a free drink, or a retailer showing a customer’s current points.
Coupon: a scannable discount or promo. A “15% off your next order” pass that swaps to a new offer after redemption.
Event ticket: entry for a concert, conference, or match, with the seat or session on the front.
Boarding pass: travel check-in with gate and flight details that update in real time.
Membership: gym, club, or subscription access, scannable at the door.
Pick the one that matches your use case; the builder has a template for each.
What you need before you create a custom Apple Wallet pass
To create a custom Apple Wallet pass, you need three things regardless of which method you pick.
First, an Apple Developer account. Apple requires every pass to be signed with a Pass Type ID certificate tied to your developer account, and there’s no way around that even with a no-code tool. The account runs $99/year. Second, your branding assets: logo, icon, colors, and the fields you want on the card. Third, a barcode or QR value if the pass will be scanned at a counter.
With a builder, you add the Pass Type ID certificate once so the platform can sign passes on your behalf. After that, the technical side is done and you work visually.
Two ways to make an Apple Wallet pass: manual pass.json vs. a builder
The choice comes down to whether you have developer time to spend and how much low-level control you need.
Option 1: Build the pass.json and sign it yourself
You author a pass.json describing the pass style, fields, colors, and barcode, bundle it with your images, and sign the package with your Pass Type ID and WWDR certificates to produce a .pkpass. To send updates after the pass is installed, you also run a web service that registers devices and talks to Apple’s push service. This route gives maximum control and suits teams with specific backend integration or very large volumes, but it needs coding and ongoing maintenance.
Option 2: Use a no-code pass builder
A builder generates and signs the .pkpass for you. You pick a style, set branding and fields, add a barcode, preview the result, and click generate. Updates go out from the same dashboard by serial number, so there’s no web service to build. This is the practical route for marketing and product teams, and the rest of this guide follows it.
Create an Apple Wallet pass for free: what’s actually free
Some tools advertise free pass creation, so the cost breakdown is worth spelling out.
The pass builder itself is typically included in a platform’s plan, and generating a pass has no per-pass fee. What isn’t free is the Apple Developer account at $99/year, which Apple requires for signing. So “create an Apple Wallet pass free” is accurate for the design and generation, but the Apple certificate is a fixed cost you can’t skip. Budget for the account, not for the builder.
Step-by-step: building your first pass
These steps take you from certificate to a shareable install link.
-
Connect your Apple Developer account
In the Apple Developer portal, register a Pass Type ID under Certificates, Identifiers & Profiles, then create the matching Pass Type ID certificate. Add that certificate to your application in the Pushwoosh Wallet passes setup so the platform can sign passes for you. You do this once.
-
Design the card and set fields
In the Control Panel, go to Campaigns → Apple Wallet and click Create pass. Start from scratch or load a template (boarding pass, coupon, event ticket, generic, or store card). Pick a pass style, then set your colors, logo, and images. A live preview updates as you edit. A few design rules keep the pass usable. Put the one thing the customer cares about in the primary field, big and readable: "500 points" or "20% OFF". Use secondary fields for supporting detail like an expiry date or member ID. Reserve the back of the pass for terms, contact info, and a link to your site or nearest store. Keep the branding consistent with your app so the pass is instantly recognizable in a crowded Wallet.
-
Add a barcode or QR
Add the barcode the pass will show for scanning. Wallet supports QR, Aztec, and PDF417. Set the value that your point-of-sale or check-in system reads, and optionally the text shown beneath it in case a scanner fails.
-
Set location relevance (optional)
You can make the pass surface on the lock screen when a customer is near a place you choose: your store, a venue, an airport. Add up to 10 locations, set the lock-screen text for each ("You're near our shop, show this pass for points"), and a max distance in meters. This turns a saved pass into a timely nudge without sending a push at all.
-
Publish and share the install link
Click Validate pass to catch missing images or fields against Apple's rules, then Generate. The builder processes your images and signs the .pkpass in a few seconds. Share it as an install link or QR code on your receipts, signage, site, or in an email, and customers tap to add it to Apple Wallet.
Keep the pass updated after launch
A pass isn’t a one-time file. Points change, offers expire, event details move, and each of those is an update to a live card sitting in someone’s Wallet.
Doing this by hand means running that web service and managing device registrations for every change. With the Pushwoosh pass builder you update the pass by serial number from the dashboard, and the change reaches every device that added it. You skip pass.json and the update server entirely.
Build and update Apple Wallet passes with Pushwoosh
Skip the pass.json and the signing server. Pushwoosh Wallet passes lets you design a pass, generate a signed .pkpass, share an install link, and push updates by serial number from one dashboard.